


The World Wide Web's Lifesaver
Git is a version control system - which is a system that records changes to a file or files over time.
It is used by developers all over the world to manage code and collaborate effectively.
Using repositories, Git allows you keep track of changes in a log that can be used to reference older versions of files.
It is extremely useful for when you want to recall changes to a file, and it's relevant information such as who changed what, and when it changed.
Git is also a good way to keep your work in the cloud, just in case your physical copy becomes unusable for whatever reason.
The Goal
By the end of this article, you will know the basics of using Git.
You won't be a Git master, but you will know what version control is.
And more importantly, you will know how use Git.
The Roadmap
In this article we are going to be covering Git in the following order.
1. Git Setup
2. Committing
3. Changes and Reverting
4. Branches
5. Remote Git
To check if you have Git installed, you can use your terminal and type the following command.
git --version
If you don't have Git, you can download it here => git-scm.com
How do you use Git?
Git can be used locally and remotely.
What this means is that you can store the repository on your machine - locally.
Or you can store the repository in the cloud so that you or others can access it online.
Before we jump in to version control, we should note that Git uses a config that allows you to set properties you may need when working with version control - like author information.
So before we do anything with code, we can quickly set a global username in our Git config.
To do so, use the following command.
git config --global { property-to-set } " desired property value "

Once you set a global property, you can check it with the following command.
git config --global { property-to-view }

Local Git
To understand the version control process, let's make changes to some files in a project.
So to get us started, I have crafted a basic HTML file with some basic CSS for flavor - feel free to copy it, or use your own to follow along.
The Setup
HTML
<!DOCTYPE html>
<html lang="en">
    <head>
        <title>Git Version Control Example</title>
        <link rel="stylesheet" href="./styles.css" />
    </head>
    <body>
        <h1>Git Version Control Example</h1>
        <p>A simple webpage we can change to learn version control</p>
        <div class="box">
            <b>Box</b>
        </div>
    </body>
</html>
CSS
html {
  width: 500px;
  font-family: sans-serif;
  margin: auto;
}

h1 {
  display: grid;
  place-items: center;
  color: #fff;
  background-color: #333;
  padding: 10px;
}

p {
  font-size: 18px;
}

.box {
  height: 100px;
  width: 100px;
  display: grid;
  place-items: center;
  color: #fff;
  background-color: #333;
  border-radius: 5px;
  margin: auto;
}
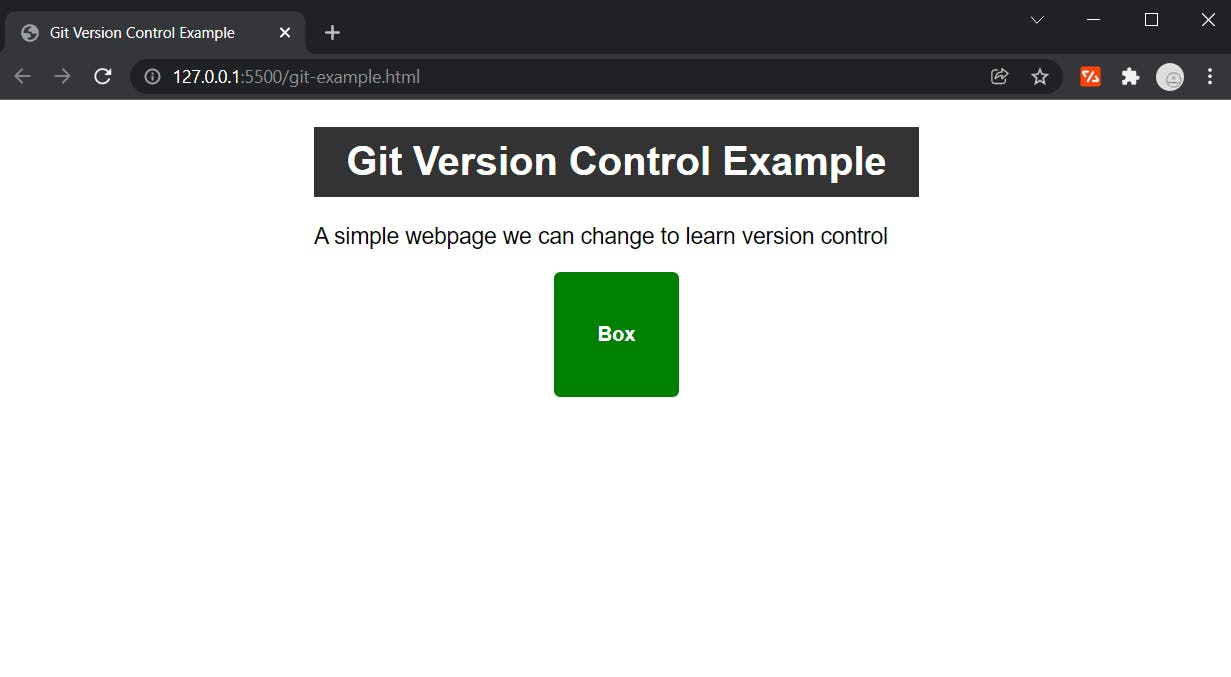
And here's the browser output =>
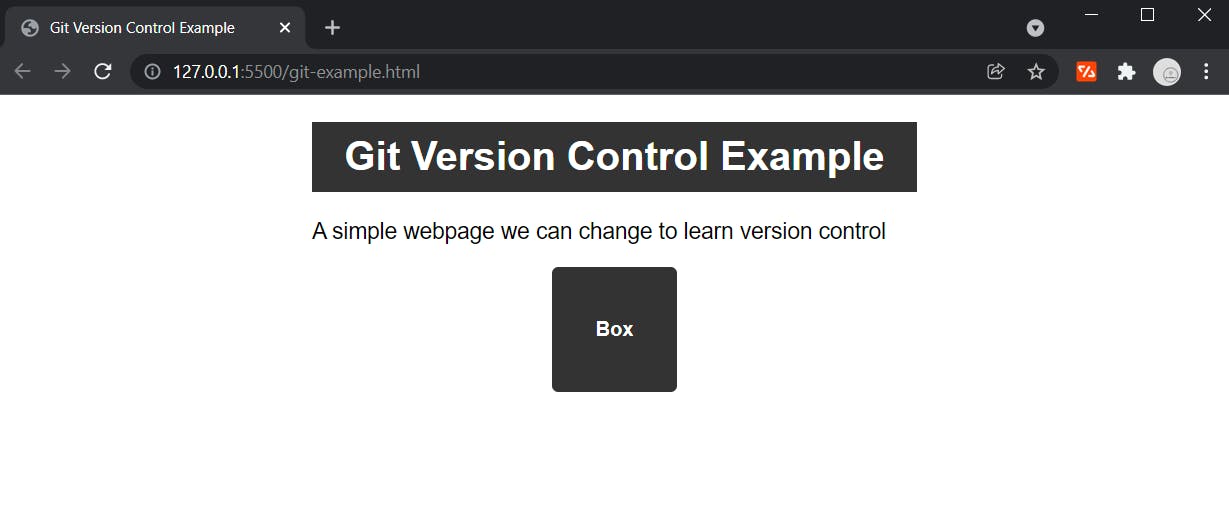
So now we actually have some code to work with, we need to initialize a Git repository for it.
Initialization
After we verify that we have Git installed, we can run the follow command to initialize a repository.
git init

Note - In my Git settings (prompted upon install) I have main set as the base branch, but you could have master set as your base branch - notice how my base branch switches when I initialize the repository.
Now that we have a repository set up, we can run the following command to verify it's a new Git repository with no commits.
git log
We can see in our terminal output that we haven't committed anything yet.

Committing
Each repository is a history of what was committed that can be accessed to see what changed when.
Commit is a term that is synonymous to save, or a checkpoint if you will.
Anytime you make changes to code, you can commit them to the Git repository.
But, in order to commit the changes, we have to stage them.
Below are some commands used to add files to the staging area for committing.
First, to stage a single file for committing you can specify it's name like so.
git add { file-name-here }
Or, if you have multiple files to stage for committing, you can add all changes like this.
git add .
To save time, I will just use the add all changes command to add both HTML and CSS files at the same time.
To check what is in staging, you can run the following.
git status
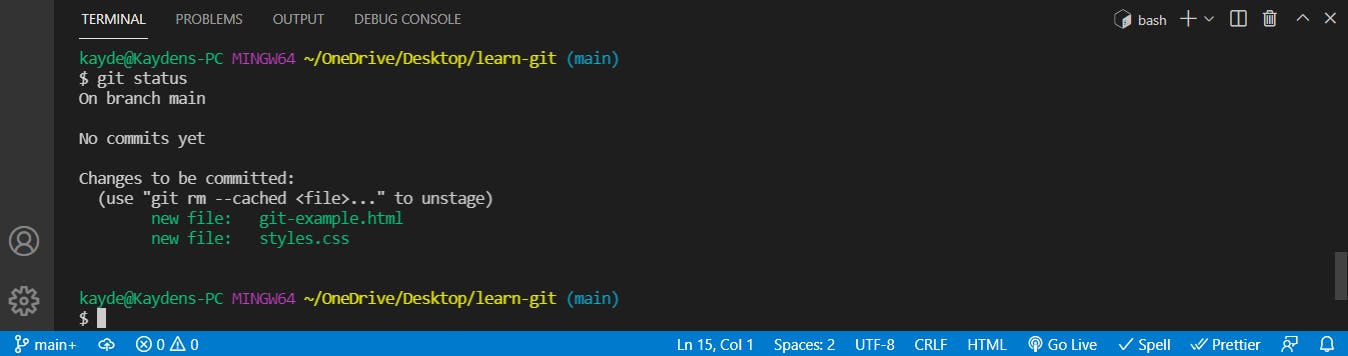
This is super useful when committing for making sure that you don't include changes that you don't mean to.
Now, to actually commit the changes we do the following command.
git commit -m " commit-message-here "
This is the commit message used to provide more detail on the changes.

Having committed to the repository, we should now be able to check the log for our commit.
git log
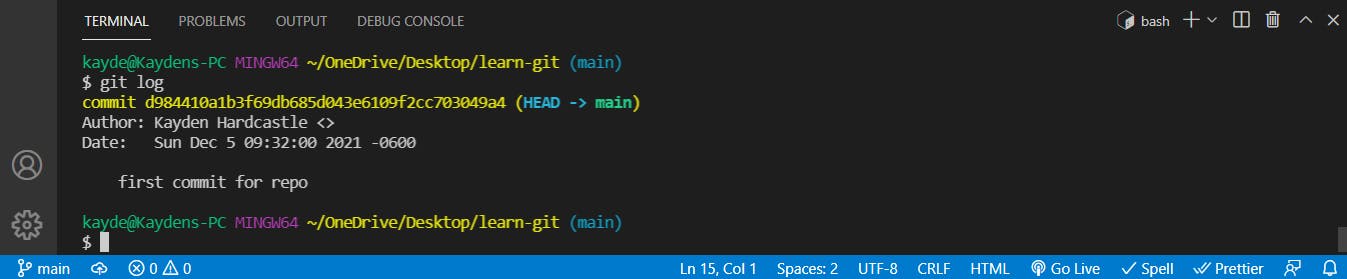
We now see our author information, date information, and our commit message in the log - awesome!
Making and Reverting Changes
Now that we have a repository setup and our initial code committed, we can make changes, stage the changes, and then commit them to the repository.
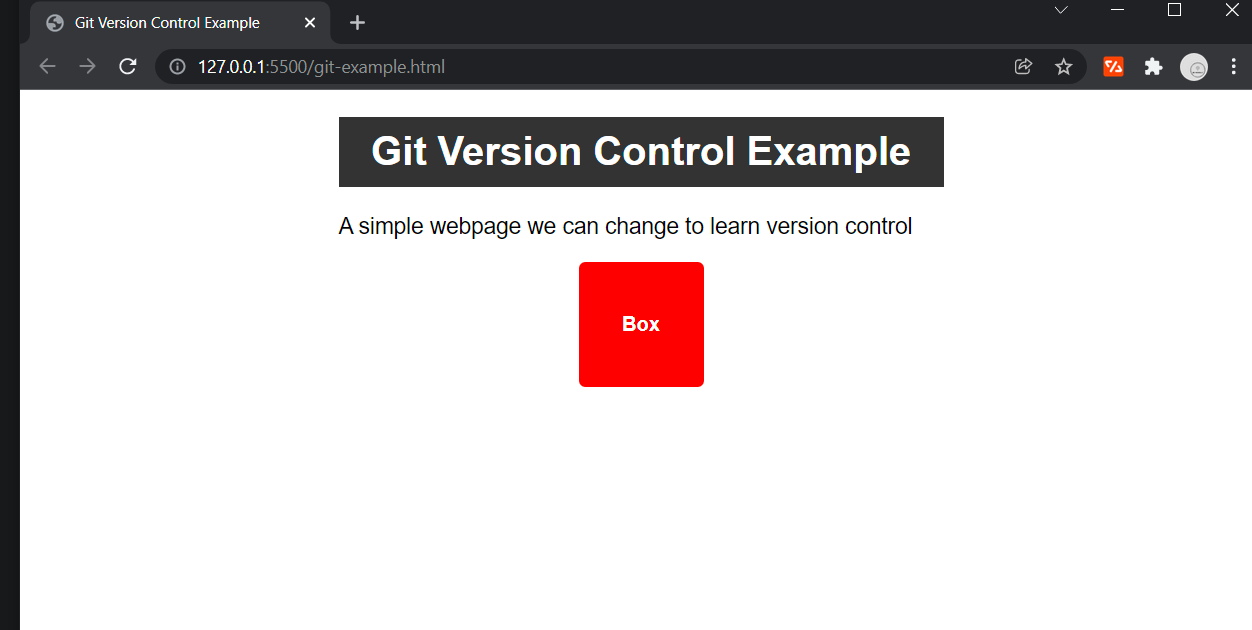
Here is a change to the styles - changing the box color from #333 (grey) to red.
CSS
.box {
  height: 100px;
  width: 100px;
  display: grid;
  place-items: center;
  color: #fff;
  background-color: red;
  border-radius: 5px;
  margin: auto;
}
Once we edit our code, we stage it and then commit it.
git add .
git commit -m "changing box color to red"
But let's just say we were supposed to change the color to green and not red - now we need to revert the code back, oops!
Git allows us to back track on our commits for reasons like this.
Below is an example of how to revert a commit.
git reset HEAD~1
This reverts the log back one commit and puts the changes back into our editor.
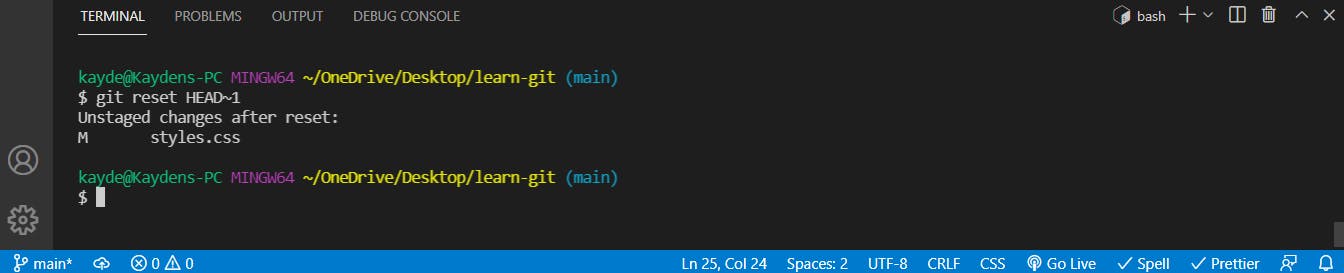
You can go back through as many commits as you need, just update the number at the end of the command.
Now our log should only show our initial commit "first commit for repo".

Note - Going forward, I am making the box red again and re-committing it.
Branches
To further increase the ability to collaborate with others as well as have more control of your file changes, each Git repository allows you to store what are called branches.
Branches are just different versions of changes done to the same base code.
Each branch has their own commit history.
For an example, let's say I have 2 different approaches to a problem.
Using two different branches, I could test each approach individually and then commit the one I want to my main branch.
To set this in stone, let's try it out by testing different box colors.
Let's make a branch to test a green box color and have our main branch keep the red.
This way we can have two versions of the site that we can checkout and use.
Checkout is a term used when using a particular branch.
So, starting from the base branch we can do the following command.
git branch { branch-name-here }
I will call my branch green-box-test.

Now we checkout the new branch like this.
git checkout { branch-name-here }

After changing the box color to green, saving it, and committing it - let's check out the browser so we can compare the new green color to the previous red color.
Note - You have to handle any changes on a branch before switching to a different one, this means committing the changes or stashing them.
To stash changes, use the following command.
git stash
Stashing changes is like committing them - except it is stored on a temporary branch created just for this process.
Then later you can retrieve those stashed changes with the following command.
git stash pop
Since we have committed our changes though, we don't have to worry about stashing anything in this example.
Although we will use the green version, let's utilize our branches here and checkout our master branch and look at the red box version one more time.

Since I have decided I like the green color, I need to put the changes from green-box-test onto my main branch.
To do so, we can merge the branches.
Below is a command that allows you to do just that.
git merge { branch-you-want-merged }
Just note that it merges the listed branch into the branch you currently are in.
So, below I am on main branch and I merge in the green-box-test branch like this.

Note - When merging branches, sometimes you will encounter what are called "merge conflicts".
This happens when two branches have changes that affect the same code and are merged together.
When this happens you will be prompted to choose which version of changes to accept as the version used.
I am not covering this here in this introduction for time's sake.
Remote Git
So far, our Git repository is only on our local machine.
However, we can put our repository online so that it can be accessed from the cloud.
To do so, we need to use a hosting service.
I will be using GitHub, but you can use others like Bitbutcket or GitLab.
Basic GitHub Repository Setup
If you dont already have a GitHub account, you can create one here for free github.com/signup
Once you create an account, sign in and then you will see a plus sign button at the top tight of the page next to your avatar.
When you click that plus sign, it will prompt you some options and we want to choose "New Repository".
Once you are on the create repository page, it will prompt you for a name and a few settings.
I am naming my repository my-test-repository, making it Public, and not including a description, Readme, gitignore file, or any licensing info.
Pushing to Remote Repository
Once you create your repository, you will be prompted with multiple ways to get code into the repository.
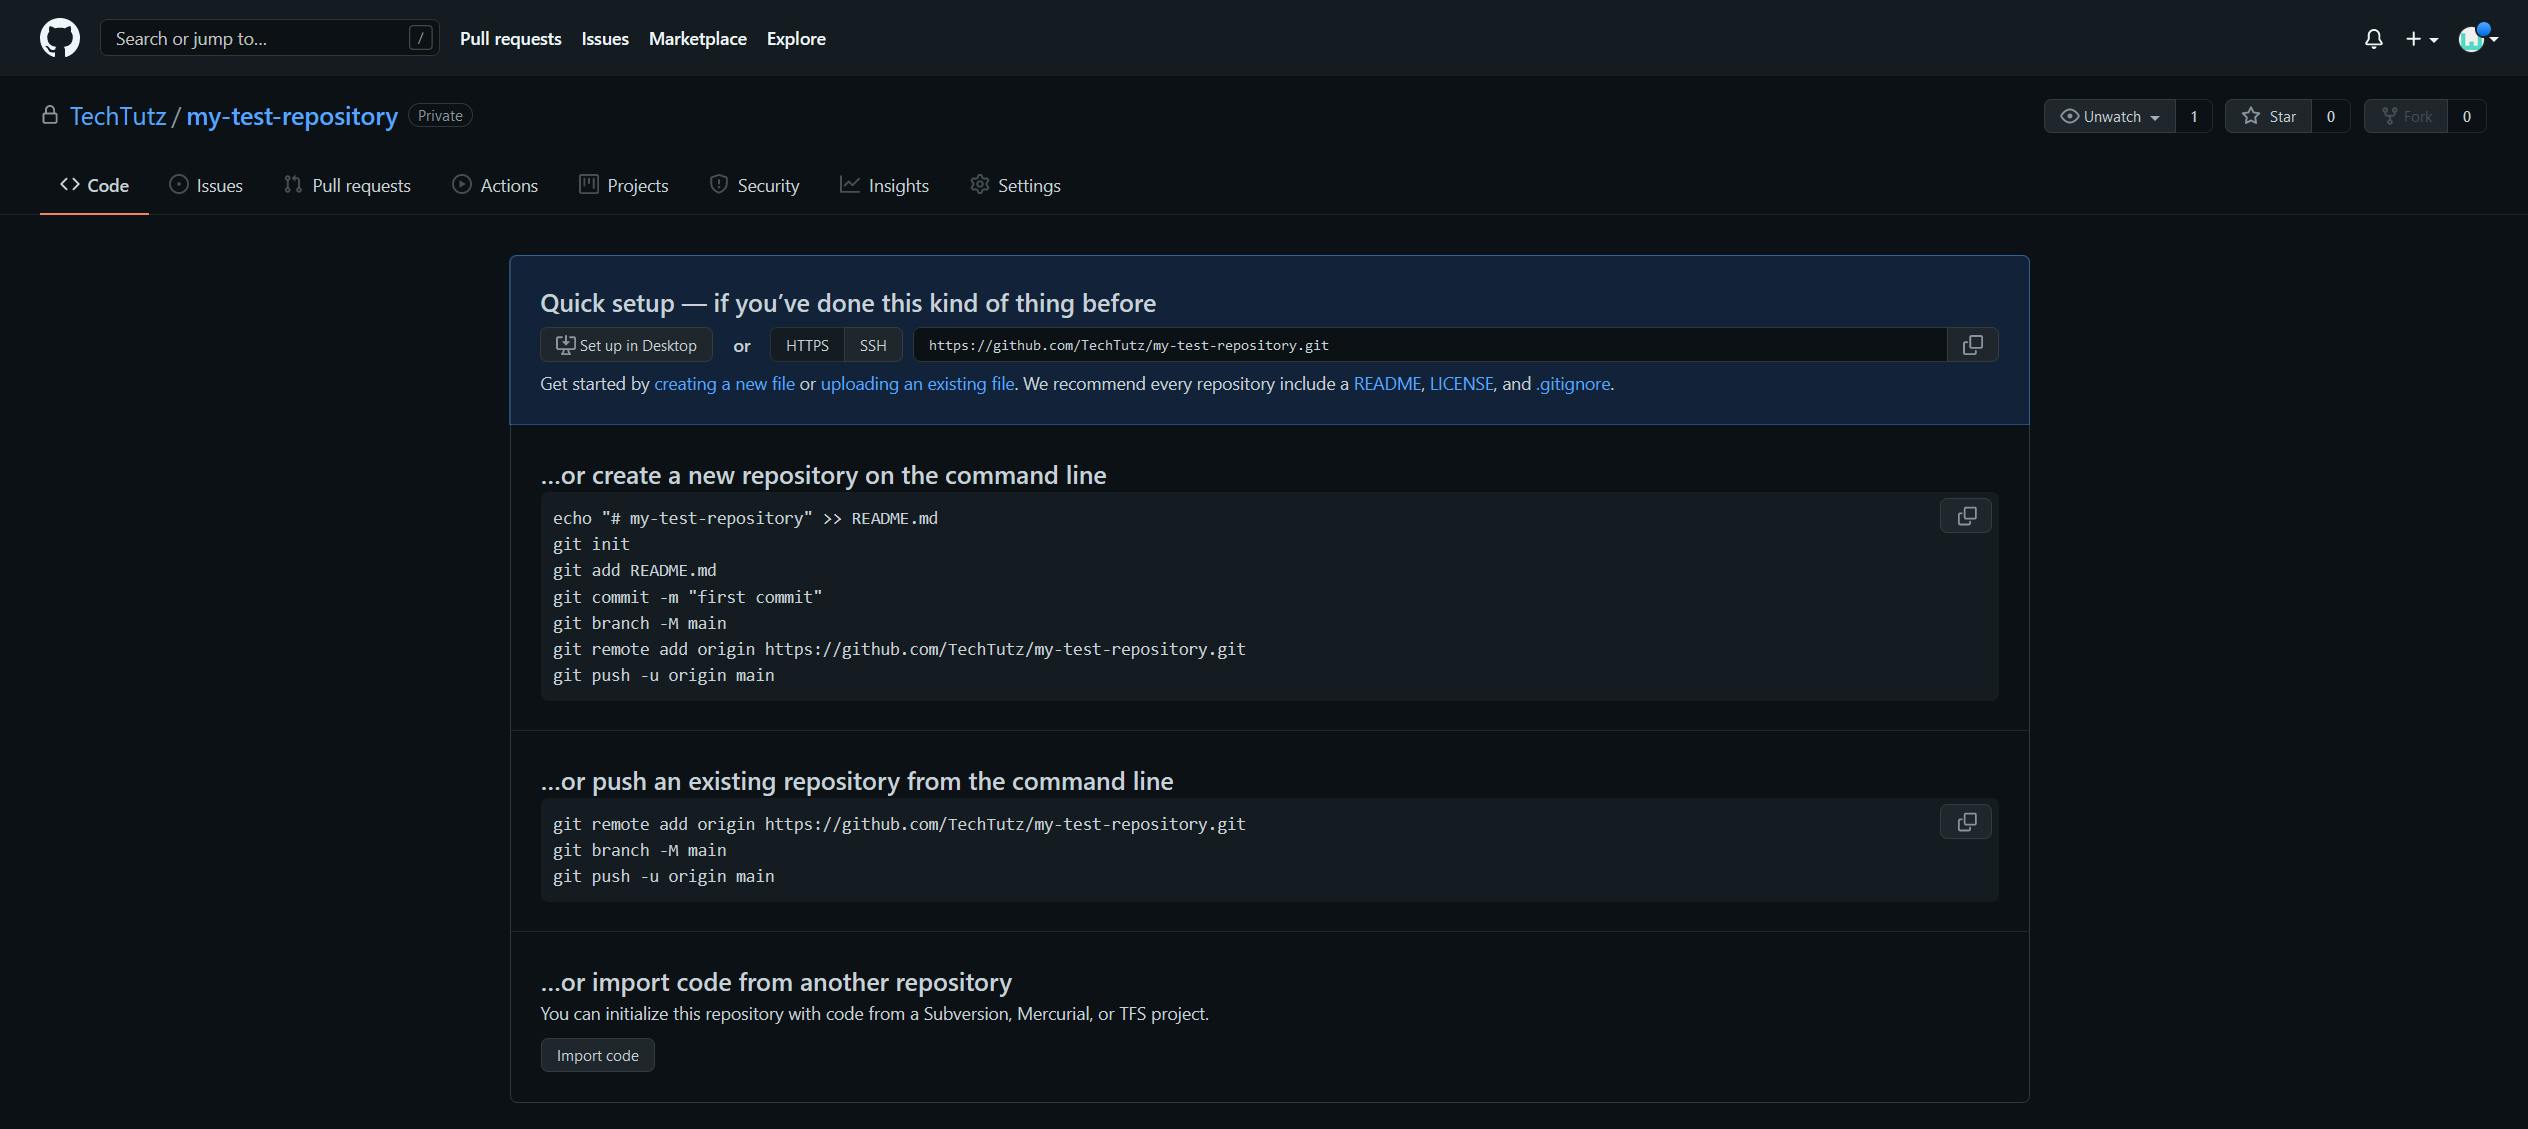
What we are doing today is pushing our existing repository up the remote repository.
To do so, we grab the Git URL provided in the "Quick Access" section.
You can use various options here in this part of the process, but we are going to just grab the HTTP version of the URL.
My HTTP Git URL is the following - github.com/TechTutz/my-test-repository.git
Now all we have to do is the following command to push our local repository changes to the remote one on GitHub.
git push { Git URL } { branch-to-push }

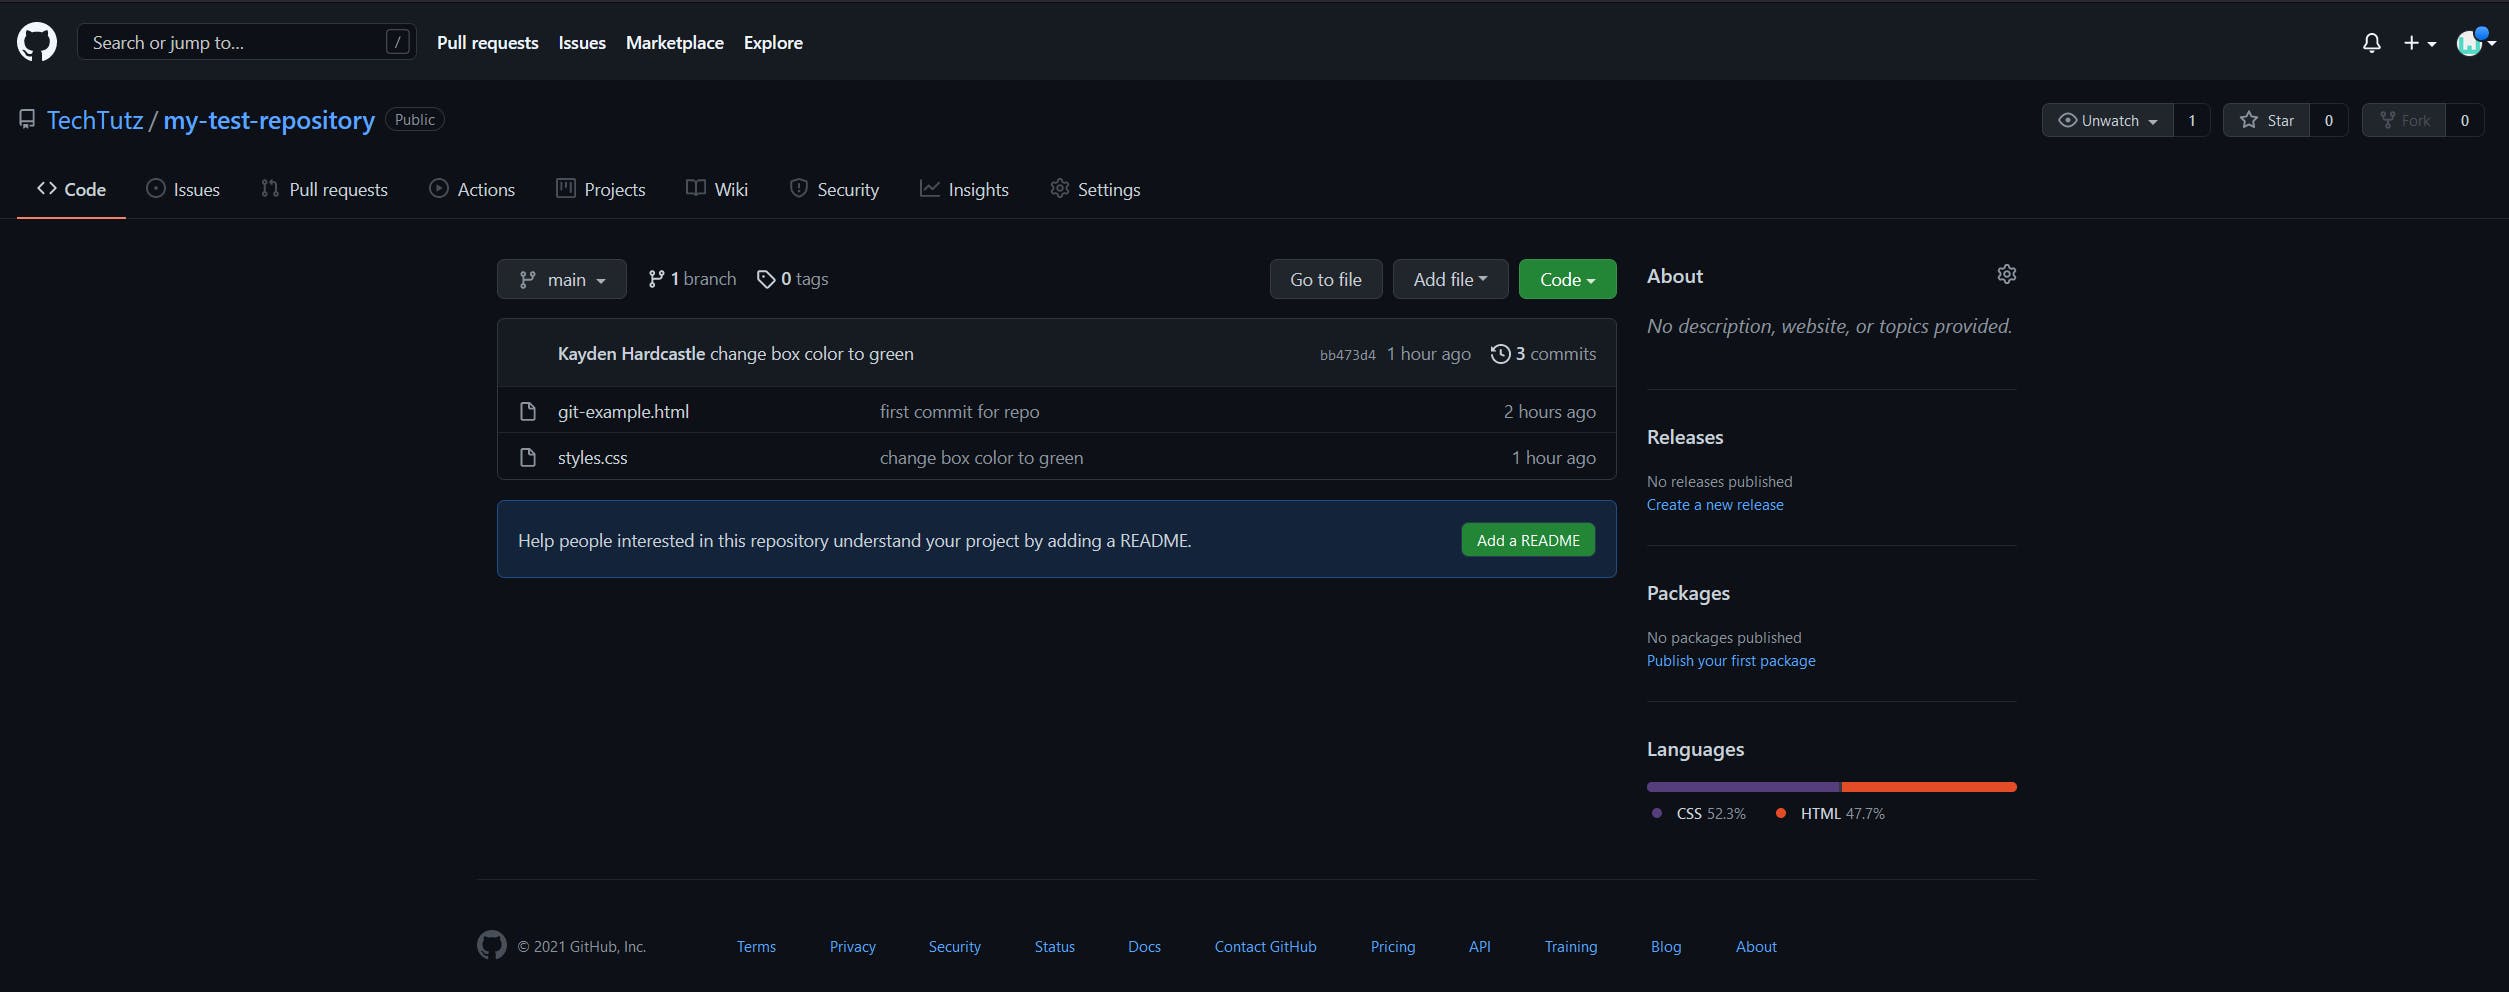
Now we can see our code in the repository online - nice!
Note - When working others, a common practice before merging branch changes is to go through a "Pull Request" process.
This entails creating a new branch for your specific changes, pushing the branch up to the remote repository, then opening a pull request.
Then your teammates review the PR and once the review process is complete, then you merge the code.
I will not be covering this process in the introduction for time's sake.
Pulling from Remote Repository
Now that we have pushed changes to our remote repository, let's go over pulling those changes.
Pulling is essentially just updating your local repository to match the remote.
Below is the command to pull a branch.
git pull { Git-URL } { branch-to-pull }

Note - Since we haven't changed anything on our local or remote repositories, we see the message telling us we are up to date - but this is another spot you can encounter merge conflicts so just be aware of that.
Summary
Below I have crafted a list of the Git commands we used today for your convenience.
Following the Git cheat-sheet I have also listed a general workflow used when working with others.
Cheat Sheet
Check for Git =>
git --version
Set global Git username =>
git config --global user.name "your-desire-name"
Initialize Git Repository =>
git init
Check Git Log =>
git log
Stage File Changes for Commit =>
git add { file-name }
Stage All File Changes for Commit =>
git add .
Check Staged Changes =>
git status
Commit Changes =>
git commit -m "your commit message here"
Revert a Commit =>
git reset HEAD~1
Create Branch =>
git branch { branch-name-here }
Switch to Branch =>
git checkout { branch-name-here }
Merge a Branch =>
git merge { branch-you-want-merged }
Push to Remote Repository =>
git push { Git URL } { branch-to-push }
Pull from Remote Repository =>
git pull { Git-URL } { branch-to-pull }
Stash Changes =>
git stash
Retrieve Stashed Changes =>
git stash pop
Workflow
The workflow of using Git usually goes something like this -
Initialize repository.
Commit initial code to repository.
Make and commit changes on a new branch.
Merge the new branch into the base branch - clearing any merge conflicts and possibly going through a code review if working with a team.
Final Note
Git is an awesome tool that every developer should learn how to use.
There are many things you can do with it, and some of the processes can get complex.
However, to use Git effectively you only need to know the basics.
I hope this article has helped you get your head around some of the key process of Git.
Now, go build some stuff! 🚀