The World Wide Web's Magical Spawn
JavaScript - the language that has spurred pure mania into many developers since it's introduction in 1995 by Brendan Eich.
Written in about a week and a half, the original version was called LiveScript - it's purpose was to help deliver web content in an efficient way.
In 1997 a standardization was introduced to JavaScript called ECMAScript, with several new versions releasing since.
Today JavaScript is one of the most popular languages, it is also one of the most versatile.
You can build almost anything you want with it - so why not start building something?
In this article we are going to be learning how to get started with the basics of JavaScript.
The Goal
By the end of this article, you will know the basics of JavaScript.
You won't be a JavaScript master by any means (is anyone??), but you will know what the language is.
And more importantly, you will know how to write the essentials of JavaScript.
The Roadmap
JavaScript has so much to offer, and you could spend years learning the intricacies and the ins and outs of all it's libraries and frameworks.
But, you have to start somewhere...
Below I have listed the things we will cover in this article.
And yes becoming proficient at this list of items is 80% of becoming a "good" JavaScript developer - like anything else, mastering the fundamentals is everything.
1. Variables
2. Data Types
3. Functions
4. Loops
5. If Else and Switch
There are many more advanced topics, but for an introduction to JavaScript - this should be just right for us today.
Note - I personally use semicolons at the end of my JavaScript statements, but it isn't required.
Ok, so now that we know what we are covering - let's jump in!
The Set Up
If you haven't already read the previous article "HTML 5: An Introduction" where we go over the basic set up of viewing webpages for development - I highly recommend you do so - you can follow along with that the setup we use in that article there => techtutz.hashnode.dev/html-5-an-introduction
We start by creating a new folder and then open it with our code editor.
Then we can make a HTML file and a JavaScript file.
Ending the file name in .js is how we tell the machine that the document we are working with is a JavaScript file.
myNewFolder / myFirstWebPage.html
myNewFolder / myFirstScript.js
Now we can link the two like the example below and we can start our JavaScript journey!
<!DOCTYPE html>
<html>
  <head>
    <title>My Webpage</title>
    <script src="./myFirstScript.js"></script>
  </head>
  <body>
     <h1>Example Title Header</h1>
     <p>Example Paragraph Tag<p>
  </body>
</html>
Variables
Like any other computer language, JavaScript incorporates variables into it's workflow.
Variables are just containers of information, or data that you give a name to.
There are two kinds of variables in JavaScript - Global Scoped or Block Scoped.
Global Scoped variables can be accessed anywhere, unlike Block Scoped variables which are only accessible locally - within the JavaScript block => { }.
Don't worry this will make more sense once we get some variables established. 😎
You can declare a variable with one of three keywords - var, let, or const.
var
var myVariableName;
Variables set with var are global scoped variables that can be re-assigned to different values.
However, currently myVariableName doesn't have a value, so let's give it one.
var myVariableName = 10;
So going forward when we use myVariableName we will actually be referencing the number 10 .
Although if we wanted myVariableName to have a different value, we can simply assign it to something else.
var myVariableName = 10;
myVariableName = 100;
Ok, since we have a variable in place - how do we use it or see it?
First let's update the HTML and also add a console log to our JavaScript.
Then we can open our HTML file in the browser to get a better picture of what's going on.
HTML
  <body>
     <h1>JavaScript Variables Example</h1>
     <p>Open the Developer Tools to check the console<p>
  </body>
JavaScript
var myVariableName = 100;

console.log(myVariableName);
Now in our browser - I am using Chrome - we can open up our Developer Tools from the browser menu, or by right-clicking our mouse and choosing inspect, or by pressing F12.
When on the Console tab, we should see something like this now.
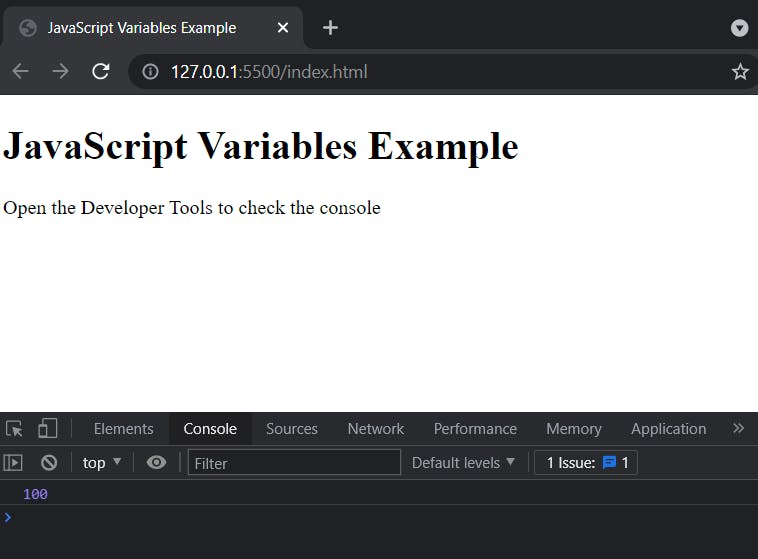
As you can see, the console is the place to see our JavaScript in action.
By adding console.log( ) we can show values or messages in our console, making debugging and coding in general easier.
Now that we know how to declare a variable and see it's value in the console, let's move on to the other variable types.
let
let myOtherVariableName = 20;
Just like when using var - variables set with let can be re-assigned different values.
let myOtherVariableName = 20;
myOtherVariableName = 200;
The difference between var and let is their scope.
Let's check out a code snippet below to see what I'm talking about.
This snippet has two variables, each declared in their own block { }.
Then we try logging those variables outside of their respective code blocks.
{ var firstVariable = 10; }
console.log(firstVariable);

{ let secondVariable = 20; }
console.log(secondVariable);
Now when we check the browser, we get this error in the console from our logs.
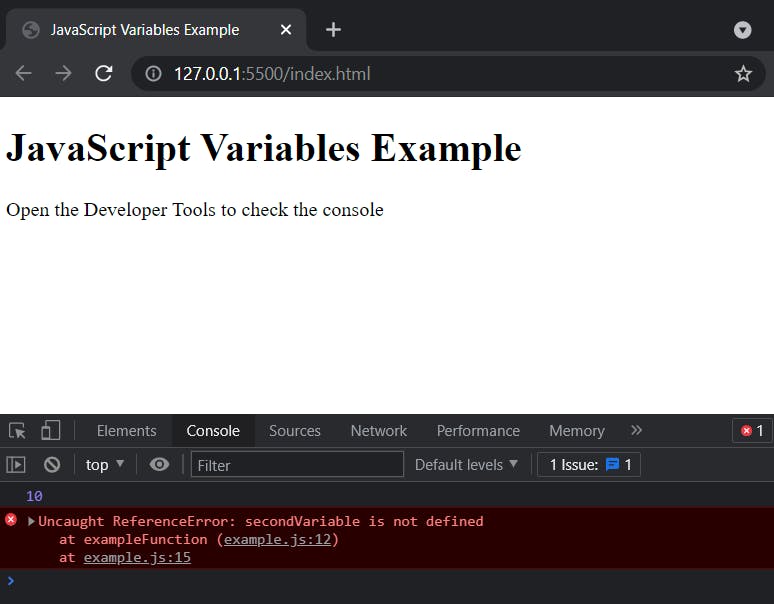
This means the function didn't recognize the let variable because we tried calling it outside of it's scope.
This shows that you can only use block scoped variables inside of the code block you declared them in.m
Now that we understand the difference of global and block scoped variables, let's finish up this variables section with the last variable type.
const
const myLastVariableName = 30;
The difference between let and const is const can't be reassigned values.
Let's take a look and see what happens when we try.
const myLastVariableName = 30;
myLastVariableName = 300;

console.log(myLastVariableName);
Now in the console we will see this.
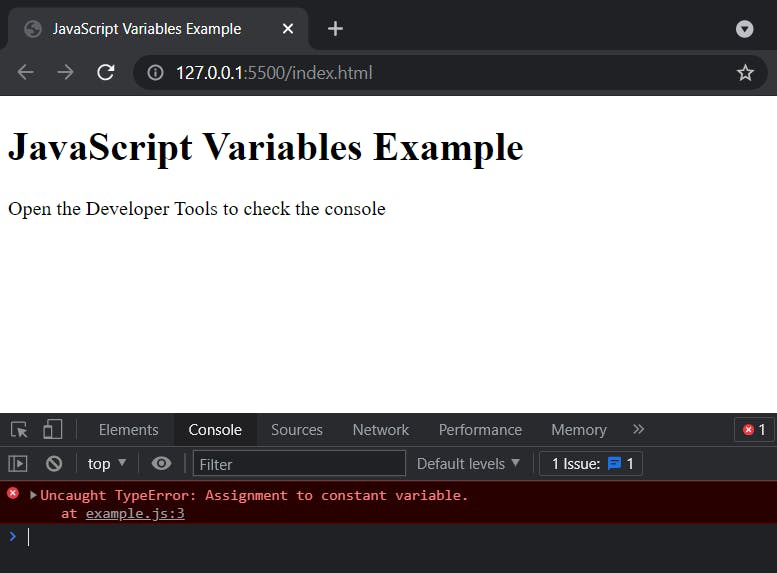
This confirms that you can't re-assign values to a const variable.
Data Types
So far we have covered variable types var, let, and const as well as using our JavaScript Console for checking our variables' values.
At this point, you may be thinking - "Are all variables numbers only???"
The answer is of course not!
In JavaScript there are 6 types of data you can assign to a variable and I am not covering these in any particular order.
Numbers
Numbers are as you would think and can be written with or without decimals.
const myFavoriteNumber = 42;
Big Integers
Big Integers, or BigInts, return a bigint primitive to represent whole numbers larger than 2^53 - 1 (largest number JavaScript can represent with a Number type). BigInt values are usually used for arbitrarily large integers.
They are created by appending n to the end of an integer, or by calling the BigInt( ) constructor
const reallyLargeNumber = 12345678987654654321n

const anotherReallyLargeNumber = BigInt(12345678987654654321)
Strings
A string (or a text string) is just a series of characters inside either single or double quotes.
const myName = "Kayden";
Booleans
A boolean can only have one of two values - true or false.
const myBoolean = true;
const myOtherBoolean = false;
Arrays
An array is a list of items, separated by commas.
const myNumberArray = [ 0, 1, 2, 3, 4, 5 ];
const myStringArray = [ "one", "two", "three" ];
Objects
Objects are variable containers.
Object properties are written as name : value pairs separated by commas.
const myPersonObject = {
  name: "Kayden",
  age: 25,
  knowsWhatAnObjectIs: true
};
Undefined
A variable without an assigned value, has the value undefined.
The type is also undefined.
let myUndefinedVariable;
When you log this in the console you get.
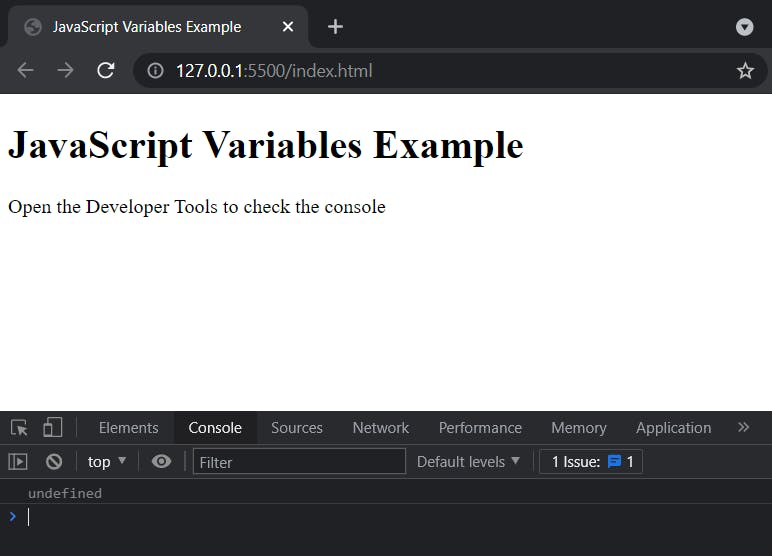
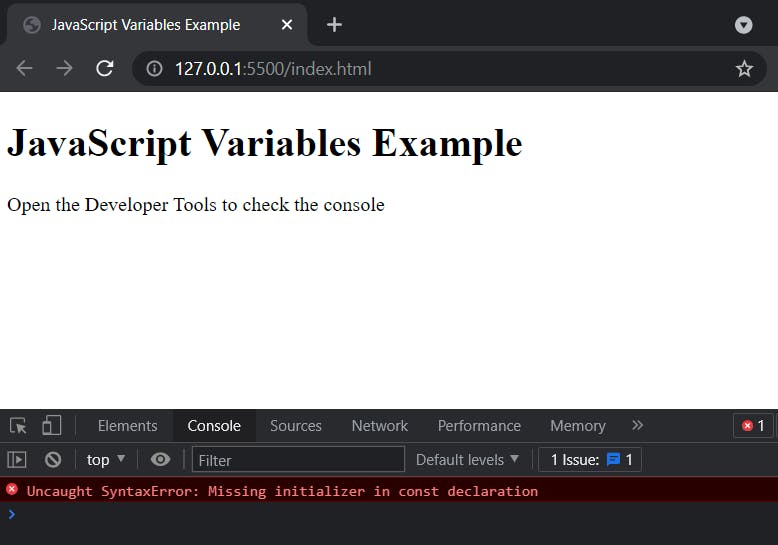
Note - you can't declare a const variable without assigning it a value.
For example, look at the logging of this variable -
const myUndefinedVariable;
Functions
JavaScript functions are one of the key aspects of the language, and writing them is very important to learn.
A function is a block of code designed to perform a particular task or operation.
In JavaScript, there are two types of functions - Functions and Arrow Functions.
Regular Functions
- Functions are defined with the function keyword
- followed by a name (could be anything just like variable names)
- followed by parentheses ( ) that can include parameters
- followed by the code to be executed inside curly brackets { }
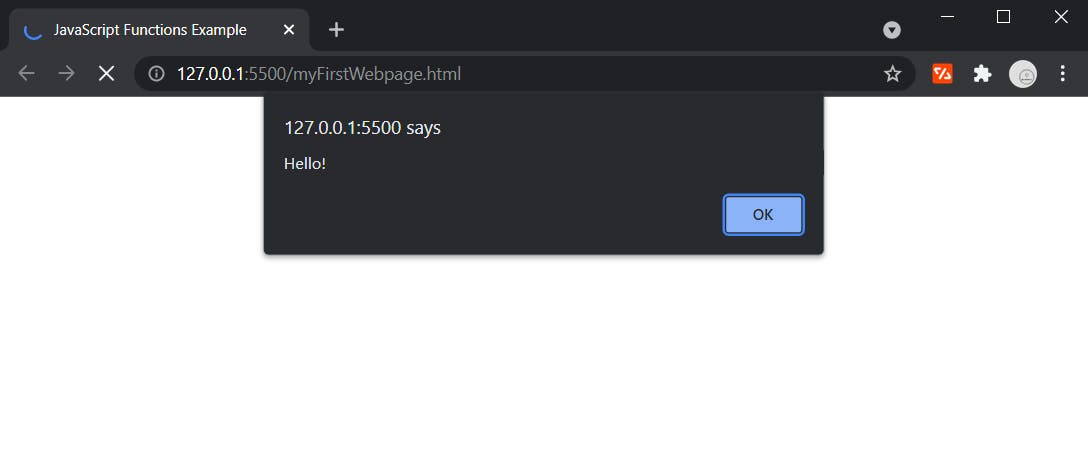
Below is an example of a regular function that simply alerts the browser with the message "Hello!".
function myHelloFunction() {
  alert('Hello!');
}
And now when we want to call or execute it, we do this -
function myHelloFunction() {
  alert('Hello!');
}

myHelloFunction();
Note - We dont have to pass in anything when we call it, we just use it's name and some parenthesis ( ).
Browser output =>
Function Parameters
If we want to be able to pass in some parameters, we can do so like the following example -
function addNumbers(number1, number2) {
  alert(number1 + number2);
}
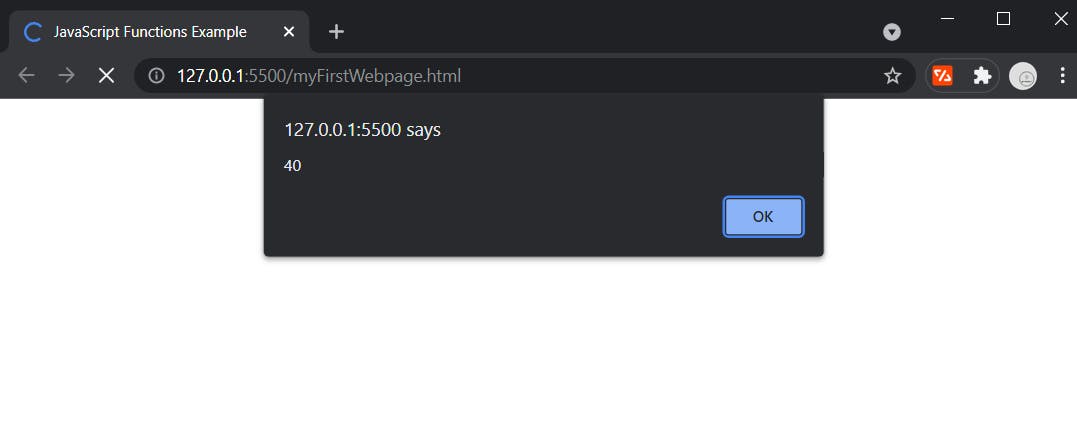
Now when we call this function we need to pass in two parameters that we have named number1 and number2.
Note - Just like naming variables and functions, you can name your parameters whatever you like.
The function then uses those passed in parameters and alerts their sum.
Below we are passing in some parameters when we call the function -
function addNumbers(number1, number2) {
  alert(number1 + number2);
}

addNumbers(10, 30);
Browser output =>
Function Returns
Functions often need to actually return a value of some kind so you should be aware of it's use.
To show this more concretely, below are two functions followed by their logging.
Both doing the same thing, adding the first provided parameter to the second.
However, the second function returns a value where as the first one does not.
function addNumbers(number1, number2) {
  number1 + number2;
}

console.log("Function addNumbers", addNumbers(1, 2));

function addNumbersAndReturn (number1, number2) {
  return (number1 + number2);
}

console.log("Function addNumbersAndReturn", addNumbersAndReturn(1, 2));
Browser output =>
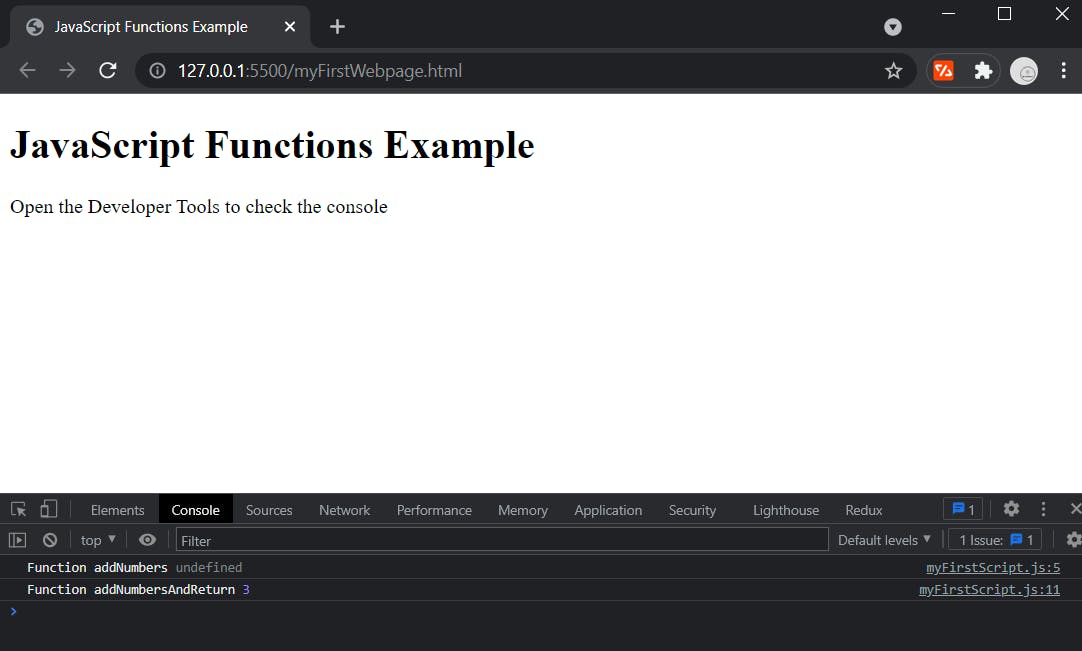
You can see that the first function addNumbers is logging undefined because it isn't returning a value.
Note - In JavaScript, if a function reaches a return statement it will stop executing.
Arrow Functions
Arrow functions allow for shorter function syntax when writing them compared to regular functions.
- Arrow Functions are defined like a variable with var, let, or const
- followed by a name (could be anything just like before)
- followed by the equals sign =
- followed by parentheses ( ) that can include parameters
- followed by a fat arrow =>
- followed by the code to be executed inside curly brackets { }
Below is a regular function followed by it's equivalent in arrow function format -
function addNumberToTen(number) {
    return number + 10;
}

const arrowAddNumberToTen = number => number + 10;
To understand this, let's breakdown what is going on.
First, writing an arrow function might look actually something like -
const arrowAddNumberToTen = (number) => {
    return number + 10;
};
Note - If there is only one statement and it returns a value, you can remove the curly brackets and the return keyword.
const arrowAddNumberToTen = (number) => number + 10;
Note - If you have only one parameter, you can skip adding the parentheses.
const arrowAddNumberToTen = number => number + 10;
Loops
In JavaScript, you may run across situations where you need to run the same code over and over again.
This is where Loops come into to play.
There are several kinds of Loops, but I will just be covering For and While.
While
The While Loop loops through a block of code as long as a specified condition is met.
- While Loops are defined with the keyword while
- followed by parentheses ( ) that include looping parameters
- followed by the code to be executed inside curly brackets { }
Below is an example of a basic While Loop -
while (number <= 3) {
    console.log(`The number is: ${number}`);
    number = number + 1;
}
Note - You are not setting the condition in your parameters, you are just checking the condition.
So in order for this to work, we actually need to declare number.
let number = 0;

while (number <= 3) {
    console.log(`The number is: ${number}`);
    number = number + 1;
};
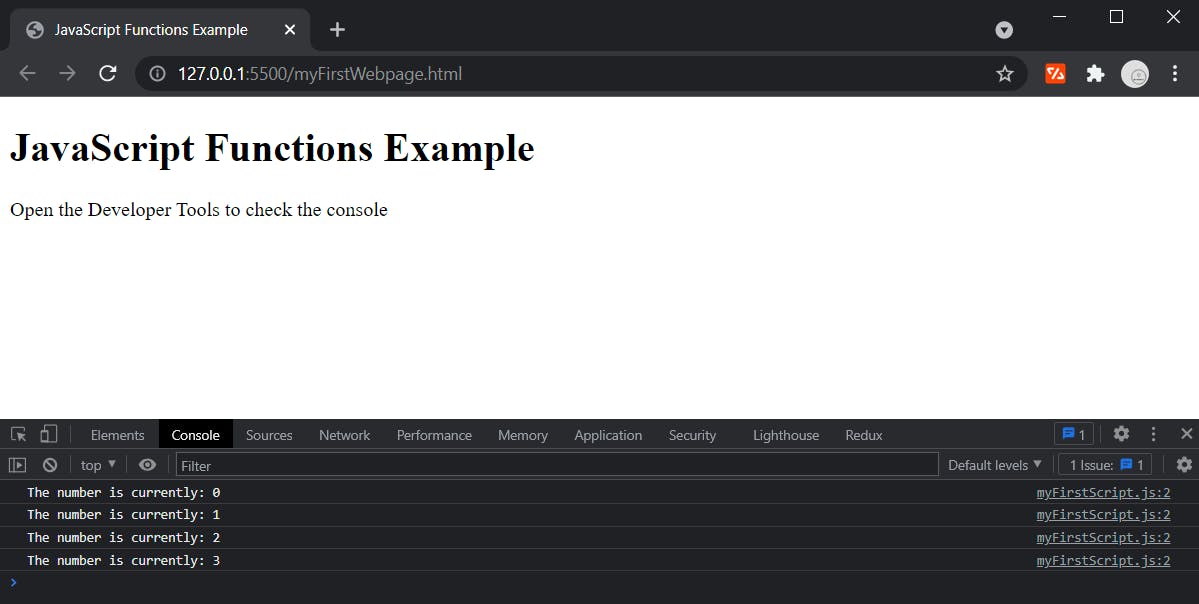
It is common to change what you are iterating on in the code block of the While Loop as we are in this example.
Browser output =>
For
The For Loop loops through a block of code a specified number of times.
- For Loops are defined with the keyword for
- followed by parentheses ( ) that include looping parameters
- followed by the code to be executed inside curly brackets { }
Below is an example of a basic For Loop -
for (let i = 0; i = 3; i+1) {
    console.log(`The number is currently: ${i}`);
}
This loops through numbers starting at 0, iterating until 3 is reached, iterating 1 number at a time - logging each iterated number in the console.
The looping parameters are statements that tell the code what to iterate on
- the initial statement declares a variable used for the initial value of the loop
- the second statement provides the value to end the loop on
- the last statement is telling the loop what increments you are iterating on
Browser output =>
If Else and Switch
In JavaScript, there are conditional statements that are used to perform actions based on different conditions.
If Else
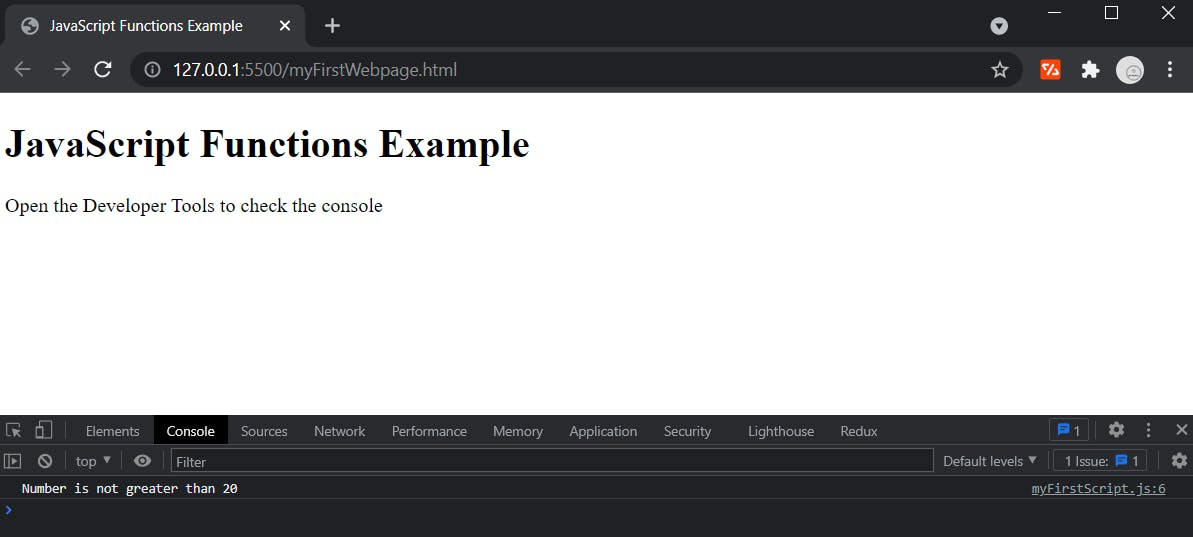
The If Else statement executes a code if a given condition is true, or another block if not.
Below is a simple example logging one message if the condition is true, and logging another if it is not.
const number = 12;

if (number > 20) {
    console.log('Number is greater than 20');
} else {
    console.log('Number is not greater than 20');
}
Browser output =>
Note - you do not have to provide and Else block with the If, below is an example of this.
const number = 12;

if (number > 20) {
    console.log('Number is greater than 20');
}
You can also chain together If Else statements like shown below.
const number = 12;

if (number > 20) {
    console.log('Number is greater than 20');
} else if (number > 15) {
    console.log('Number is greater than 15');
} else if (number > 10) {
    console.log('Number is greater than 10');
} else {
    console.log('Number is not greater than 10');
}
Browser output =>
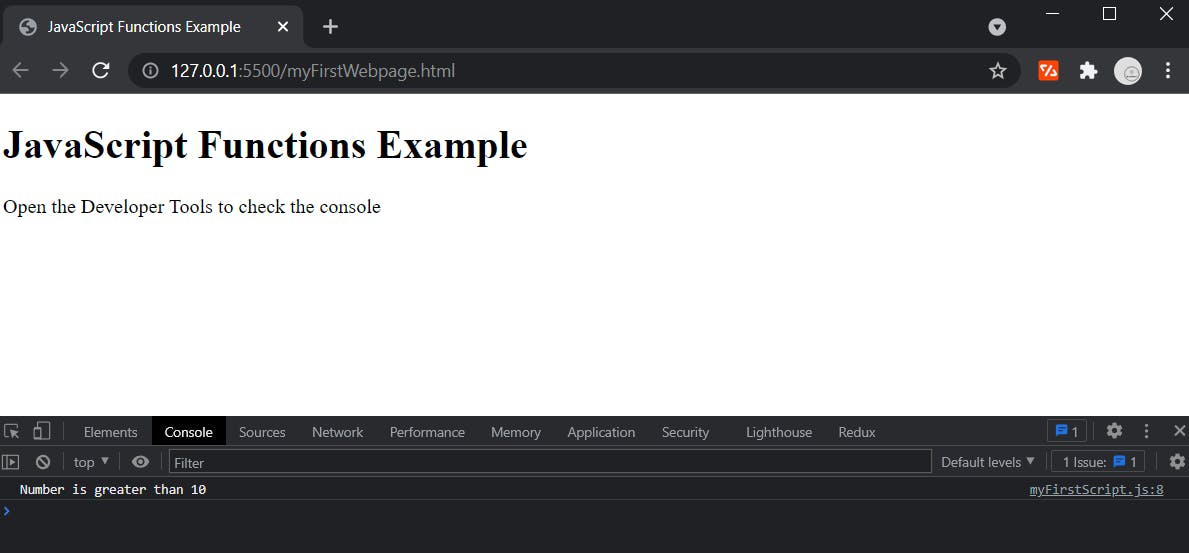
For clarity on this If Else chain:
- the code is checking if number is greater than 20
- if not, then it checks to see if it is greater than 15
- if not, then it checks if it is greater than 10
- then finally it does another code block if no condition being met
Although you can chain together as many If Else statements as you want, the more efficient way to check many conditions like this is with a Switch statement.
Switch
The Switch statement executes a block of code for each given case of a condition.
Essentially, it is a more efficient and easier to read version of using multiple If Else statements.
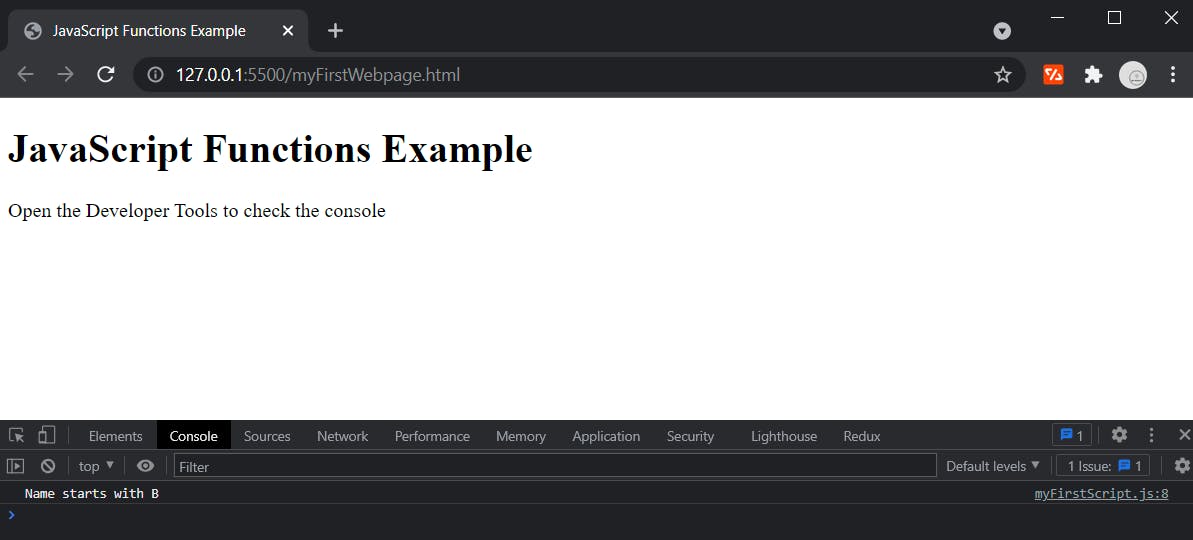
Below is an example of a basic Switch statement that checks the first letter of userName and logs a message for a few possible cases and also a default case.
const userName = 'Billy';

switch (userName[0]) {
    case 'A':
        console.log('Name starts with A');
        break;
    case 'B':
        console.log('Name starts with B');
        break;
    case 'C':
        console.log('Name starts with C');
        break;
    case 'D':
        console.log('Name starts with D');
        break;
    default:
        break;
}
When using Switch statements, each case represents a code execution based on the condition you provided.
Note - The break keyword indicates the end of the code block to be executed for that given case.
Note - You should provide a default case for when no conditions are met.
Browser output =>
Final Note
You can literally spend years and years crafting your skills in JavaScript.
With so much out there for us JavaScript developers, mastering the basics is essential to working with more and more complex systems.
I hope this article helps you get your head around some of the core concepts in JavaScript well enough to have some fun.
